
Wayfinder now supports player-made mods through Mod.io! Download the special branch "mods_beta" which will grant you access to browsing and managing mods from the main menu in Wayfinder. Get new mounts, restructure Lost Zones, create new experiences and share them with community.
How to Download the Wayfinder Mods Branch in Steam
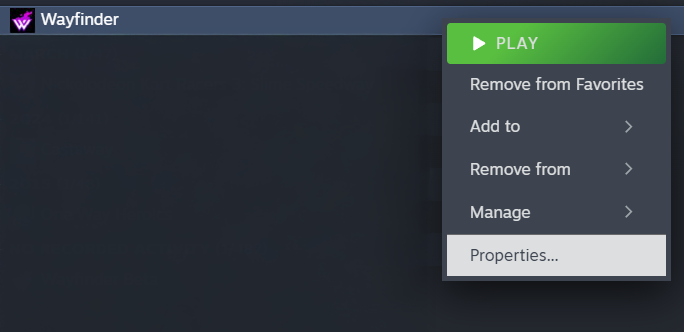
Right click Wayfinder in your game library and select PROPERTIES.
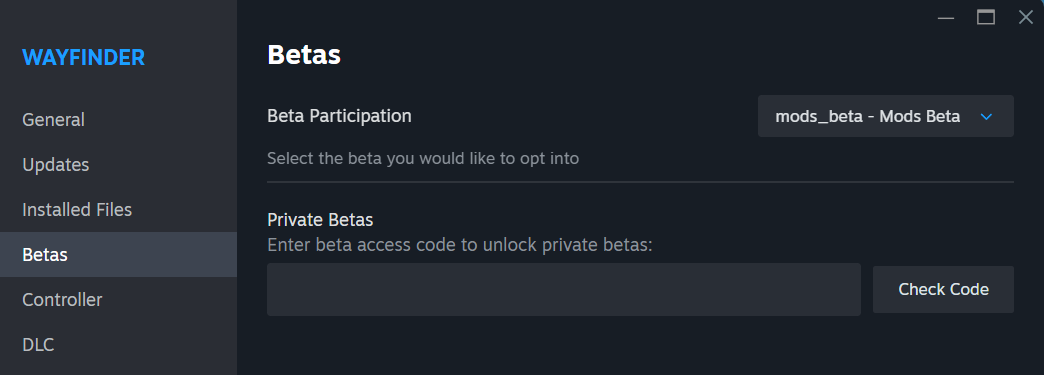
From here you can navigate to BETAS, and select "mods_beta - Mods Beta" from the list of versions.
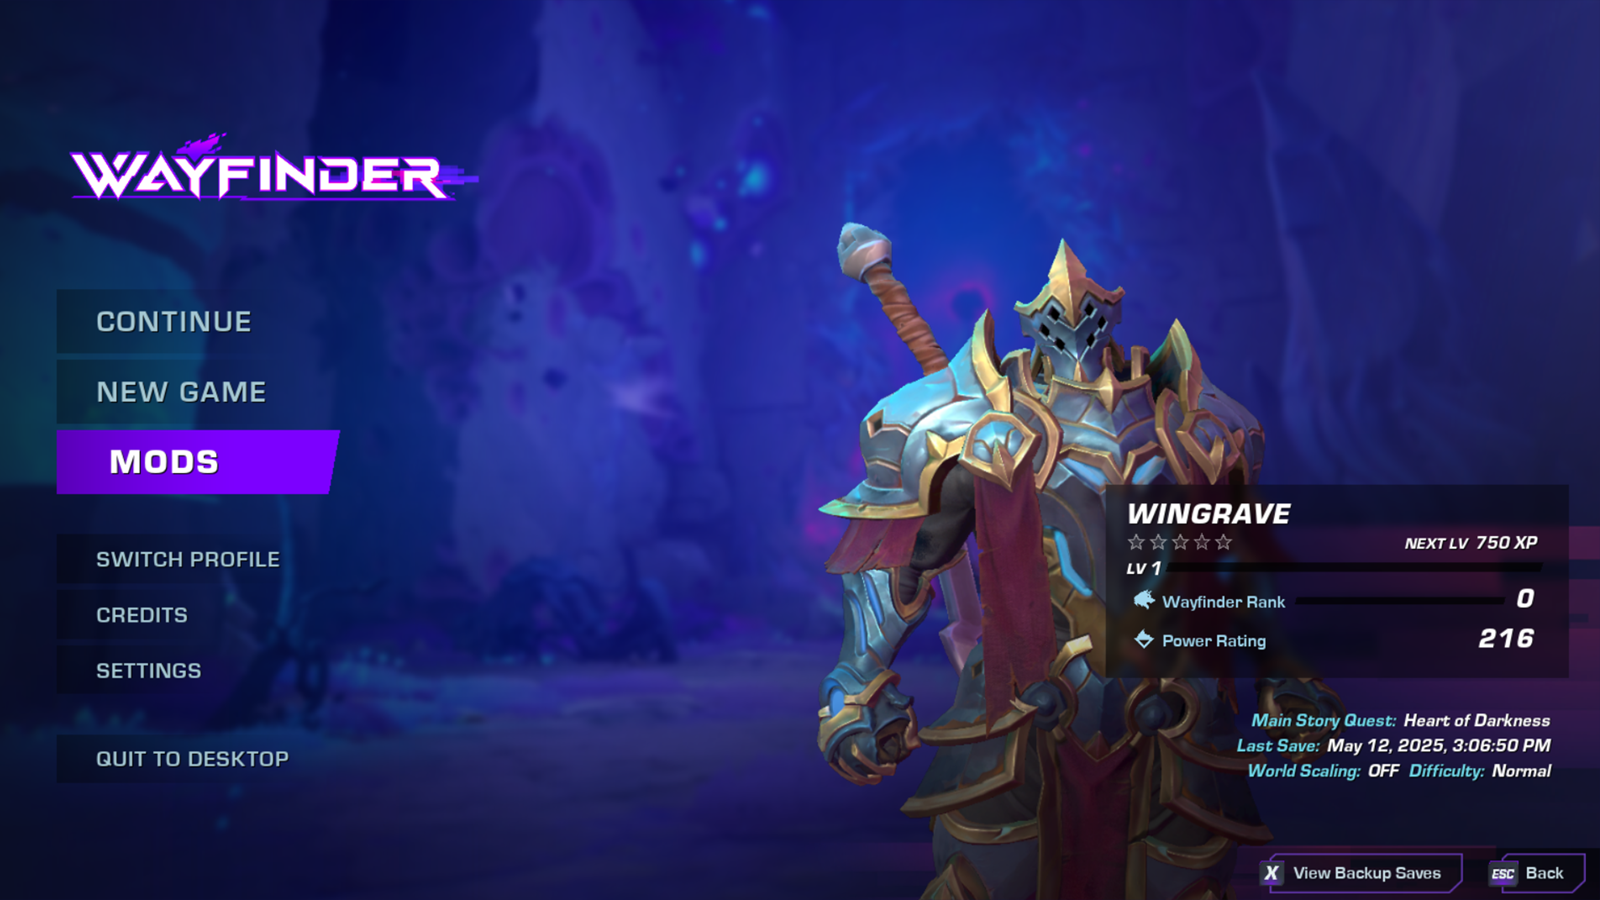
Once you have downloaded this version of the game and begin play, you will see a new option in the main menu - "MODS".
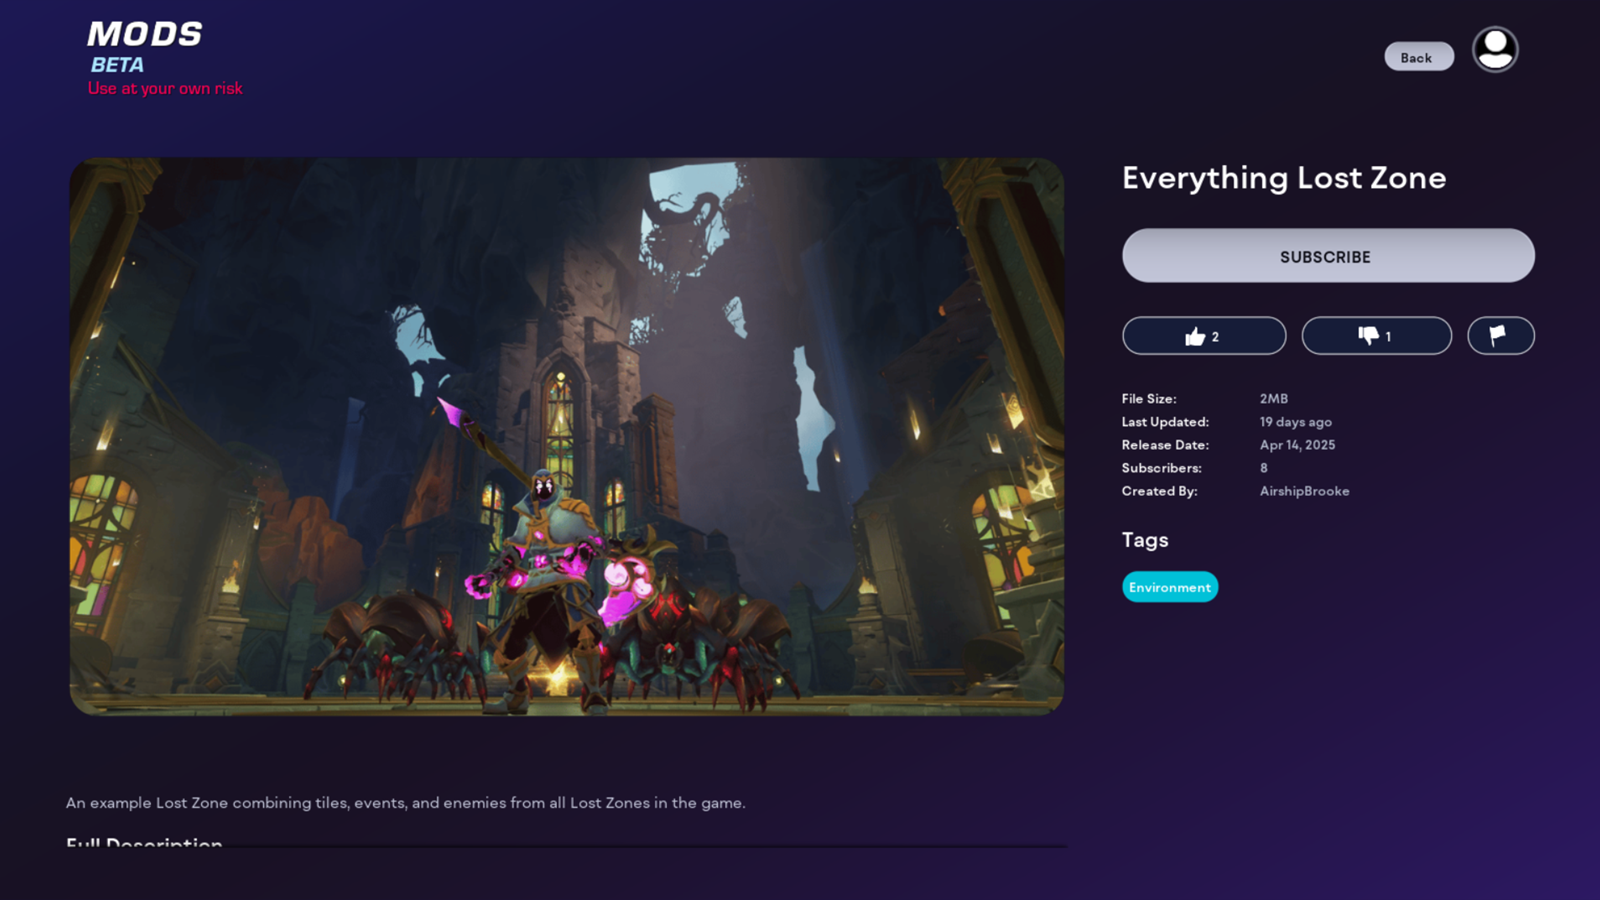
This menu will allow you to browse from a library of player-made mods supported by this version of Wayfinder. Simply SUBSCRIBE to the mod you want! Further instructions can be found in the game.
How to Create Custom Mods for Wayfinder in Unreal Engine
Want to create your own content for Wayfinder? Whether it’s new zones, mounts, enemies, or items, this guide walks you through how to build and share your custom creations using Mod.io and Unreal Engine—no coding required (but if you want it, go nuts!).
Getting Started
Download the Wayfinder Mod Editor from the Unreal Game Store.
Most Wayfinder mods involve creating or modifying all assets like Blueprints, Maps, Meshes, or other visual elements. Once you've made your changes, you’ll:
Cook your content in Unreal Engine.
Package it into a `.pak` file.
Upload it to mod.io to share it with the community!
Doing so does require downloading the editor which is available on the Epic Game Store:
Note: If your mod includes game data like item stats or enemy info, you’ll need to follow a few extra steps listed below.
Pro Tip: Instead of editing existing files directly, try copying them and making your changes in a new folder. This keeps things clean and avoids conflicts with other mods.
Packaging Your Mod
After you've created your custom content:
1. Head to Project Settings > Packaging > Additional Asset Directories to Cook and add all your new/changed folders.
2. (Optional) Speed up the process by excluding folders you didn’t touch.
3. Click File > Cook Content for Windows in Unreal.
4. Find your cooked content here:
{ProjectName}/Saved/Cooked/WindowsNoEditor/Atlas/Content5. Recreate the correct folder path (e.g., `Atlas/Content/EverythingLostZone`) to match the game’s structure.
6. Name the folder: `Atlas-WindowsNoEditor_{ModName}_P`
7. Use unrealpak.exe to compress it into a `.pak` file.
Mods That Add New Enemies, Items, or Zones
Mods that include gameplay data (like items, enemies, or new areas) need a little extra setup.
Before uploading your `.pak` to Mod.io:
Create a `ModConfig.ini` file in the same folder as your `.pak`.
Inside that file, list the new data tables you created.
Only include new tables—existing ones can't be edited this way.
Supported Table Types:
InventoryTables – for new items
MutatorTables – for gameplay modifiers
EnemySetTables – for new enemy types
TravelInfoTables – for custom Lost Zones
Example ModConfig.ini:
[/Script/Wayfinder.WFGameSettings]

InventoryTables=/Game/BonusMountsMod/Data/AirshipMod_MountItems.AirshipMod_MountItems

InventoryTables=/Game/BonusMountsMod/Data/AirshipMod_MountMeshes.AirshipMod_MountMeshes

TravelInfoTables=/Game/EverythingLostZoneMod/Everything_TravelInfoTable.Everything_TravelInfoTable
If you're changing animations or skeletons (like with mounts), make sure your mod recreates the folder structure of the original game. You don’t need every file—just the folders.
Upload and Share
Once your `.pak` file (and optionally ModConfig.ini) is ready, you can upload your mod to mod.io/g/wayfinder and start sharing it with the Wayfinder community!
Whether you’re dreaming up a spooky new Lost Zone or building your own custom mount, we can’t wait to see what you create.
Changed depots in mods_beta branch